
No desire to read?
Introduction
In our previous Blog Create a plant nursery at home in January we saw how to create the conditions to turn a room in your house into a small nursery.
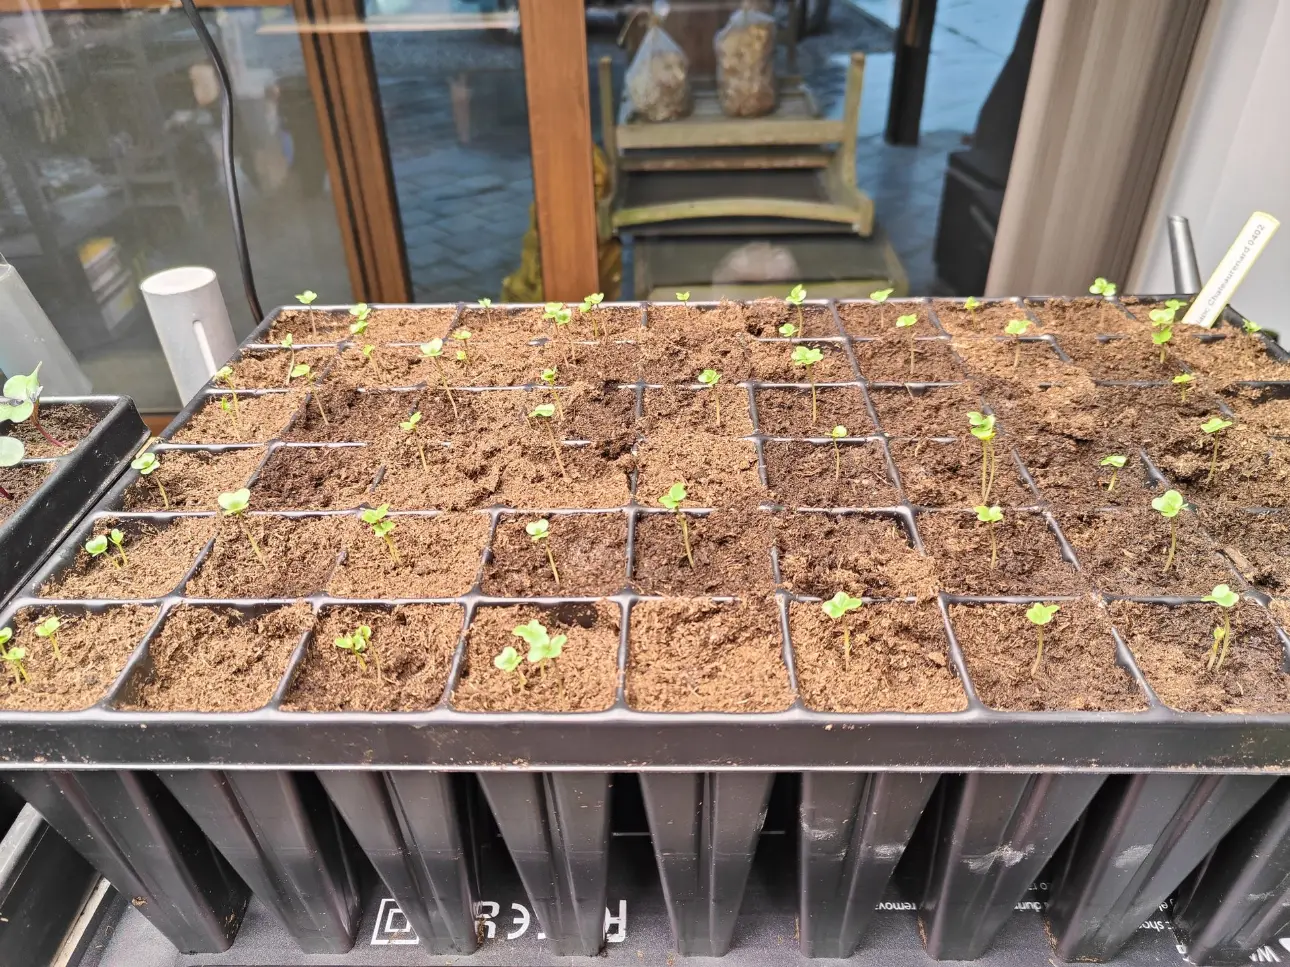
15 days later, let's see the results.
Fifteen days ago, on 01/27/25, the first two growing trays were started, one with cauliflower and the other with red cabbage.
Here is the process that was followed for these growing trays.
The dormancy release of seeds
I fill a seed tray with potting soil and moisten it. I place the seeds in each cell and cover them with a light layer of sifted potting soil. I then place this tray in a room, which we will call the Propagation Area, where there is a constant temperature of 20°C, and I moisten the soil with a hand sprayer.
As a reminder, the seed's dormancy break occurs through the addition of water and the right temperature. Basically, we make the seed believe that it's spring. Yes, lying is bad🤥
Then I cover my growing tray to retain moisture and I regularly check if the substrate needs to be moistened again.
At this stage, light is not taken into account. For your information, I am doing this first step in my office at home and my bins are not even placed near the window. For more information about light, I invite you to reread the Blog Create a plant nursery at home in January.
For most vegetables, germination is complete after about a week with the appearance of seedlings. You will also quickly notice that they suffer from a lack of light and will stretch toward the window. It's time to move your trays to a more suitable location.
How deep should the seeds be buried?
The seeds, whether in a growing tray or in the ground, must be placed at an optimal depth. Indeed, the challenge is that with the energy capital stored in the seed, it has enough energy to germinate, break through the soil, and unfold their cotylédons
If you plant it too deeply, it won't have enough energy to reach the surface, and if you plant it too close to the surface, it may dry out and never germinate (or be eaten by the hungry, like birds for example)..
There is a simple rule to remember for finding the right depth for most seeds (with the exception of a few light-sensitive seeds like basil)
De = k * Di
- De = Depth.
- Di = Seed diameter.
- k = multiplier coefficient, namely 2 or 3. We tend towards 2 for heavy soils and 3 for light soils.
This calculation also applies to bulbs - tulips for example.
The development of cotyledons
As we read in the Blog Create a plant nursery at home in January, the development of seedlings requires a little warmth, water, and especially a lot of light.
So I move my growing bins to a second room, which we will call Nursery, where I have installed a grow light to ensure a sufficient light supply. I regularly check if water needs to be added and I make sure there is good ventilation in the room by opening the window..
When my seedlings are sufficiently developed and depending on their tolerance to low temperatures, I will be able to move them to my cold greenhouse outside or even transplant them into the ground..
Results and Learnings - Problems and Solutions
All of that is very well, but what is the assessment of these past two weeks ?
Observation | Actions taken |
1 - Everything is going too well!It may sound crazy, but the conditions in the nursery are "too" good, and as a result, the plants are growing "too" fast. In itself, that's good news, but since I started my first plants quite early, I might end up with seedlings that need to be transplanted very early in the season, and my poor baby cabbages will go from a nursery where they are pampered in optimal growing conditions to a garden with wind, significantly lower temperatures, and cold soil. The shock may be harsh and the plants may not recover or suffer stress which will impact their future development and/or make them more susceptible to diseases! | I gradually acclimate the plants to outdoor life 🥶
|
2 - The horticultural lampAs explained in the Blog Create a plant nursery at home in January, I put a grow light in the nursery. It's an LED light, but still, it radiates heat and quite a bit of heat, actually. Between 2° and 3°. So when I think my seedlings are at 18°, they're actually around 20°. 🔥 | I raised the LED lamp so that it is less close to the seedlings.
|
3 - The temperatureFor cold climate vegetables, 20° is too high for the development phase of the cotyledons and the seedling. As a result, I have refined the temperatures compared to what I explained in the Blog. Create a plant nursery at home in January. | From now on, I will apply the following settings
|
4 - Mushrooms - fungal diseaseOf course, a mushroom had to crash the party. I know I shouldn't water too much ... well, I overwatered and, as a result, it didn't fail - too much water and lack of ventilation = fungal disease. After a week in the nursery, I noticed that my cauliflower plants were not developing very well. They didn't seem very vigorous and they were drooping. Upon closer inspection, I noticed a brownish fuzz under the leaves. This strongly resembles what novice-nurserymen dread - a fungal disease. 🍄 | I isolated this culture container from the other culture containers to prevent the spread of the fungus.
|
Just a few more days to see if the seedlings are saved, but after 2 days of spraying the garlic infusion, the result seems pretty good to me..
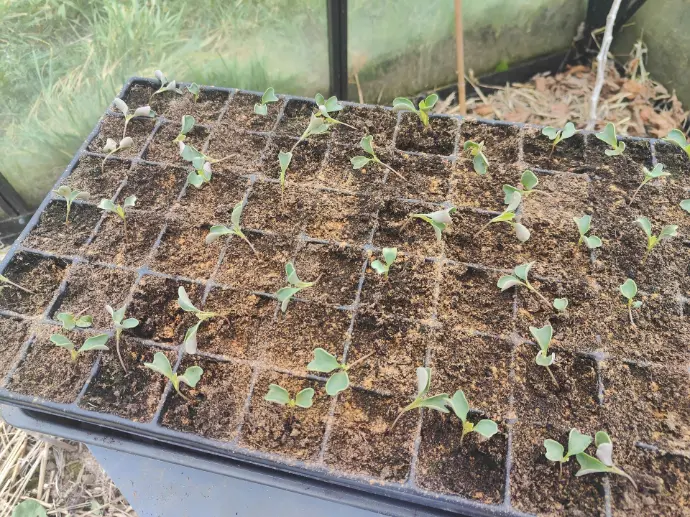
Before
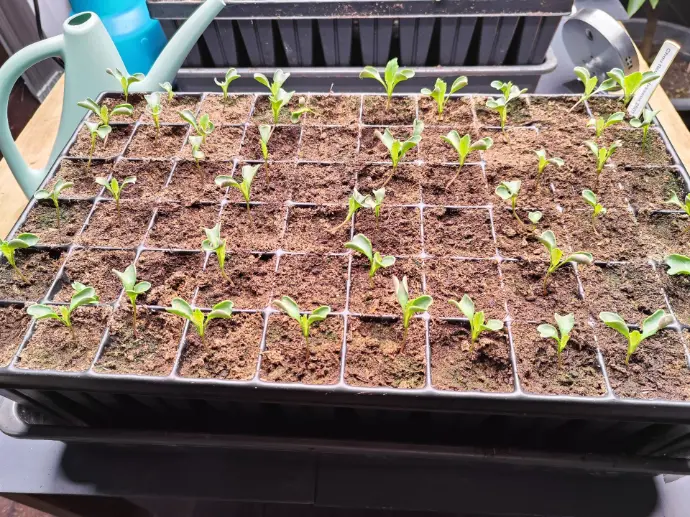
After
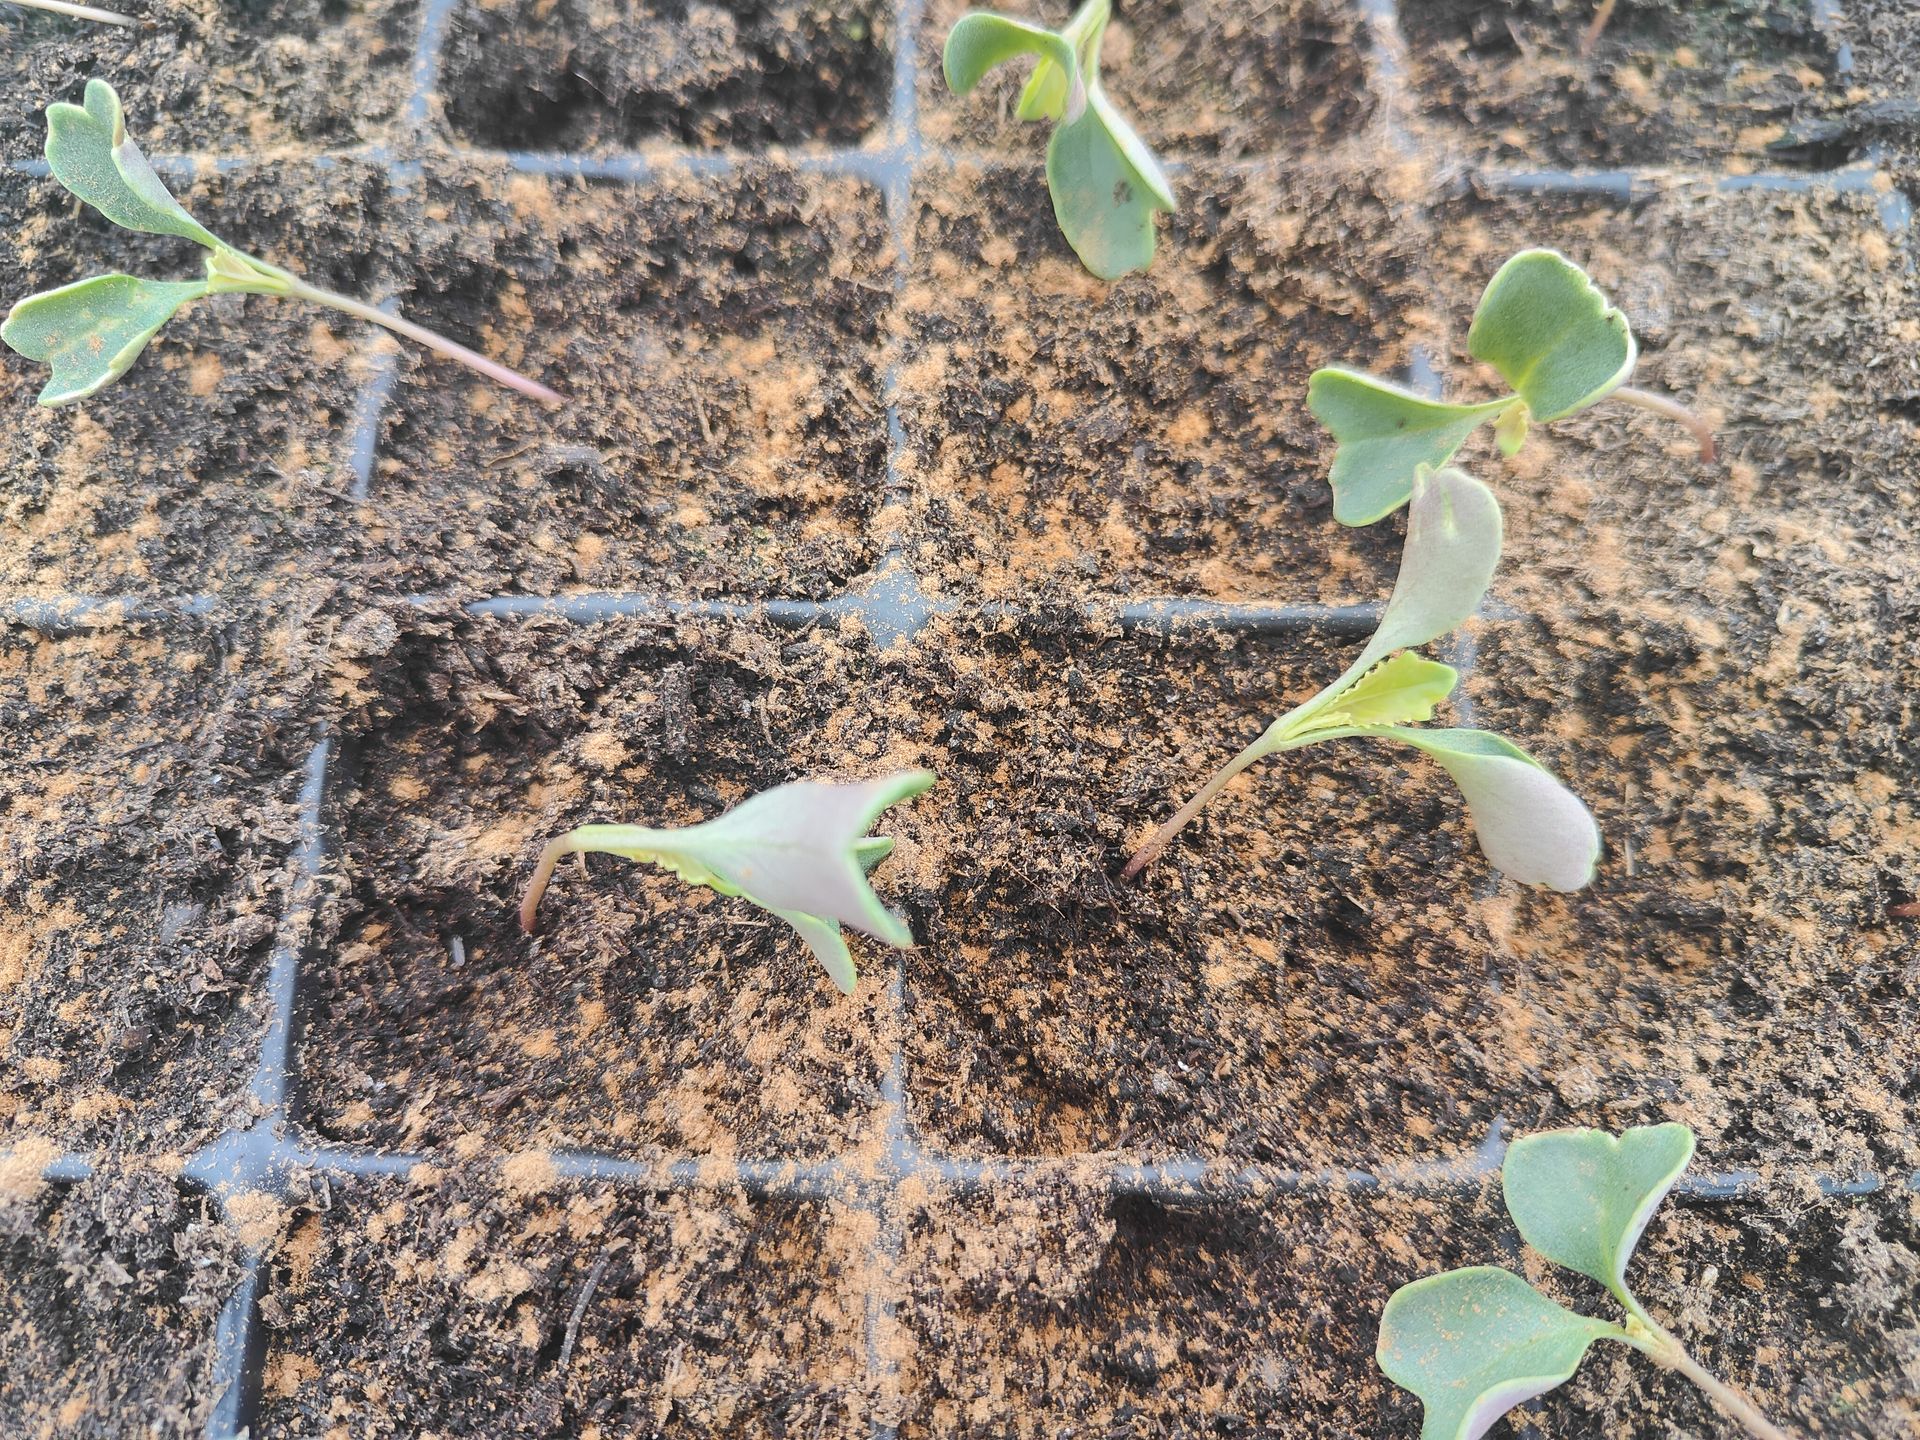
Here is a close-up of the brown felt on the inner side of the cotyledons (the brown on the potting soil is cinnamon😉)
Watering - a few rules to avoid problems
- Water in the morning. Never in the evening to avoid the development of diseases such as fungal diseases.
- Never have standing water and therefore make light water additions and/or ensure that you have well-draining substrate.
- Moisten the soil and not the leaves to prevent fungal diseases. Remember to water from the bottom and let the water rise by capillarity in the substrate.
- The color of the substrate is a good indicator of the water level. Light = lack of water while dark = wet.
- We water when it's dry.
- Preferably use rainwater.
- Use room temperature water to prevent thermal shock to the plants.
- "Better a slightly thirsty plant than an overwatered plant"
Garlic-based antifungal - the recipe
- Ingredients
- 4-5 garlic cloves.
- 1 liter of water.
- Process
- Heat the water to 90° (simmer, do not boil).
- Crush the garlic cloves.
- Remove the water from the heat and add the garlic cloves.
- Cover and let steep for 12 to 24 hours (the longer it steeps, the stronger the garlic concentration is).
- Filter the water to remove the garlic cloves.
- Put in a spray bottle and spray.
Then prepare to live for several days with a constant smell of garlic in the kitchen and the nursery 🧄😉
Conclusion
To conclude, here is a short summary video showing the sowing of artichoke seeds.